Here are some examples of my work in Keyshot. Everything shown here is all “in camera” –no manipulation of the photos was done, just a render as made by Keyshot.
I have been using Keyshot now for about 10 years. Every render I make, I try and get a little bit better than the last time I used it and hopefully learn something new. In order to have the most persuasive design deck possible, it needs to be built on the foundation of persuasive images. At a simple level a render can be photo realistic, I try and make my renders be more than that. They need to tell a story.
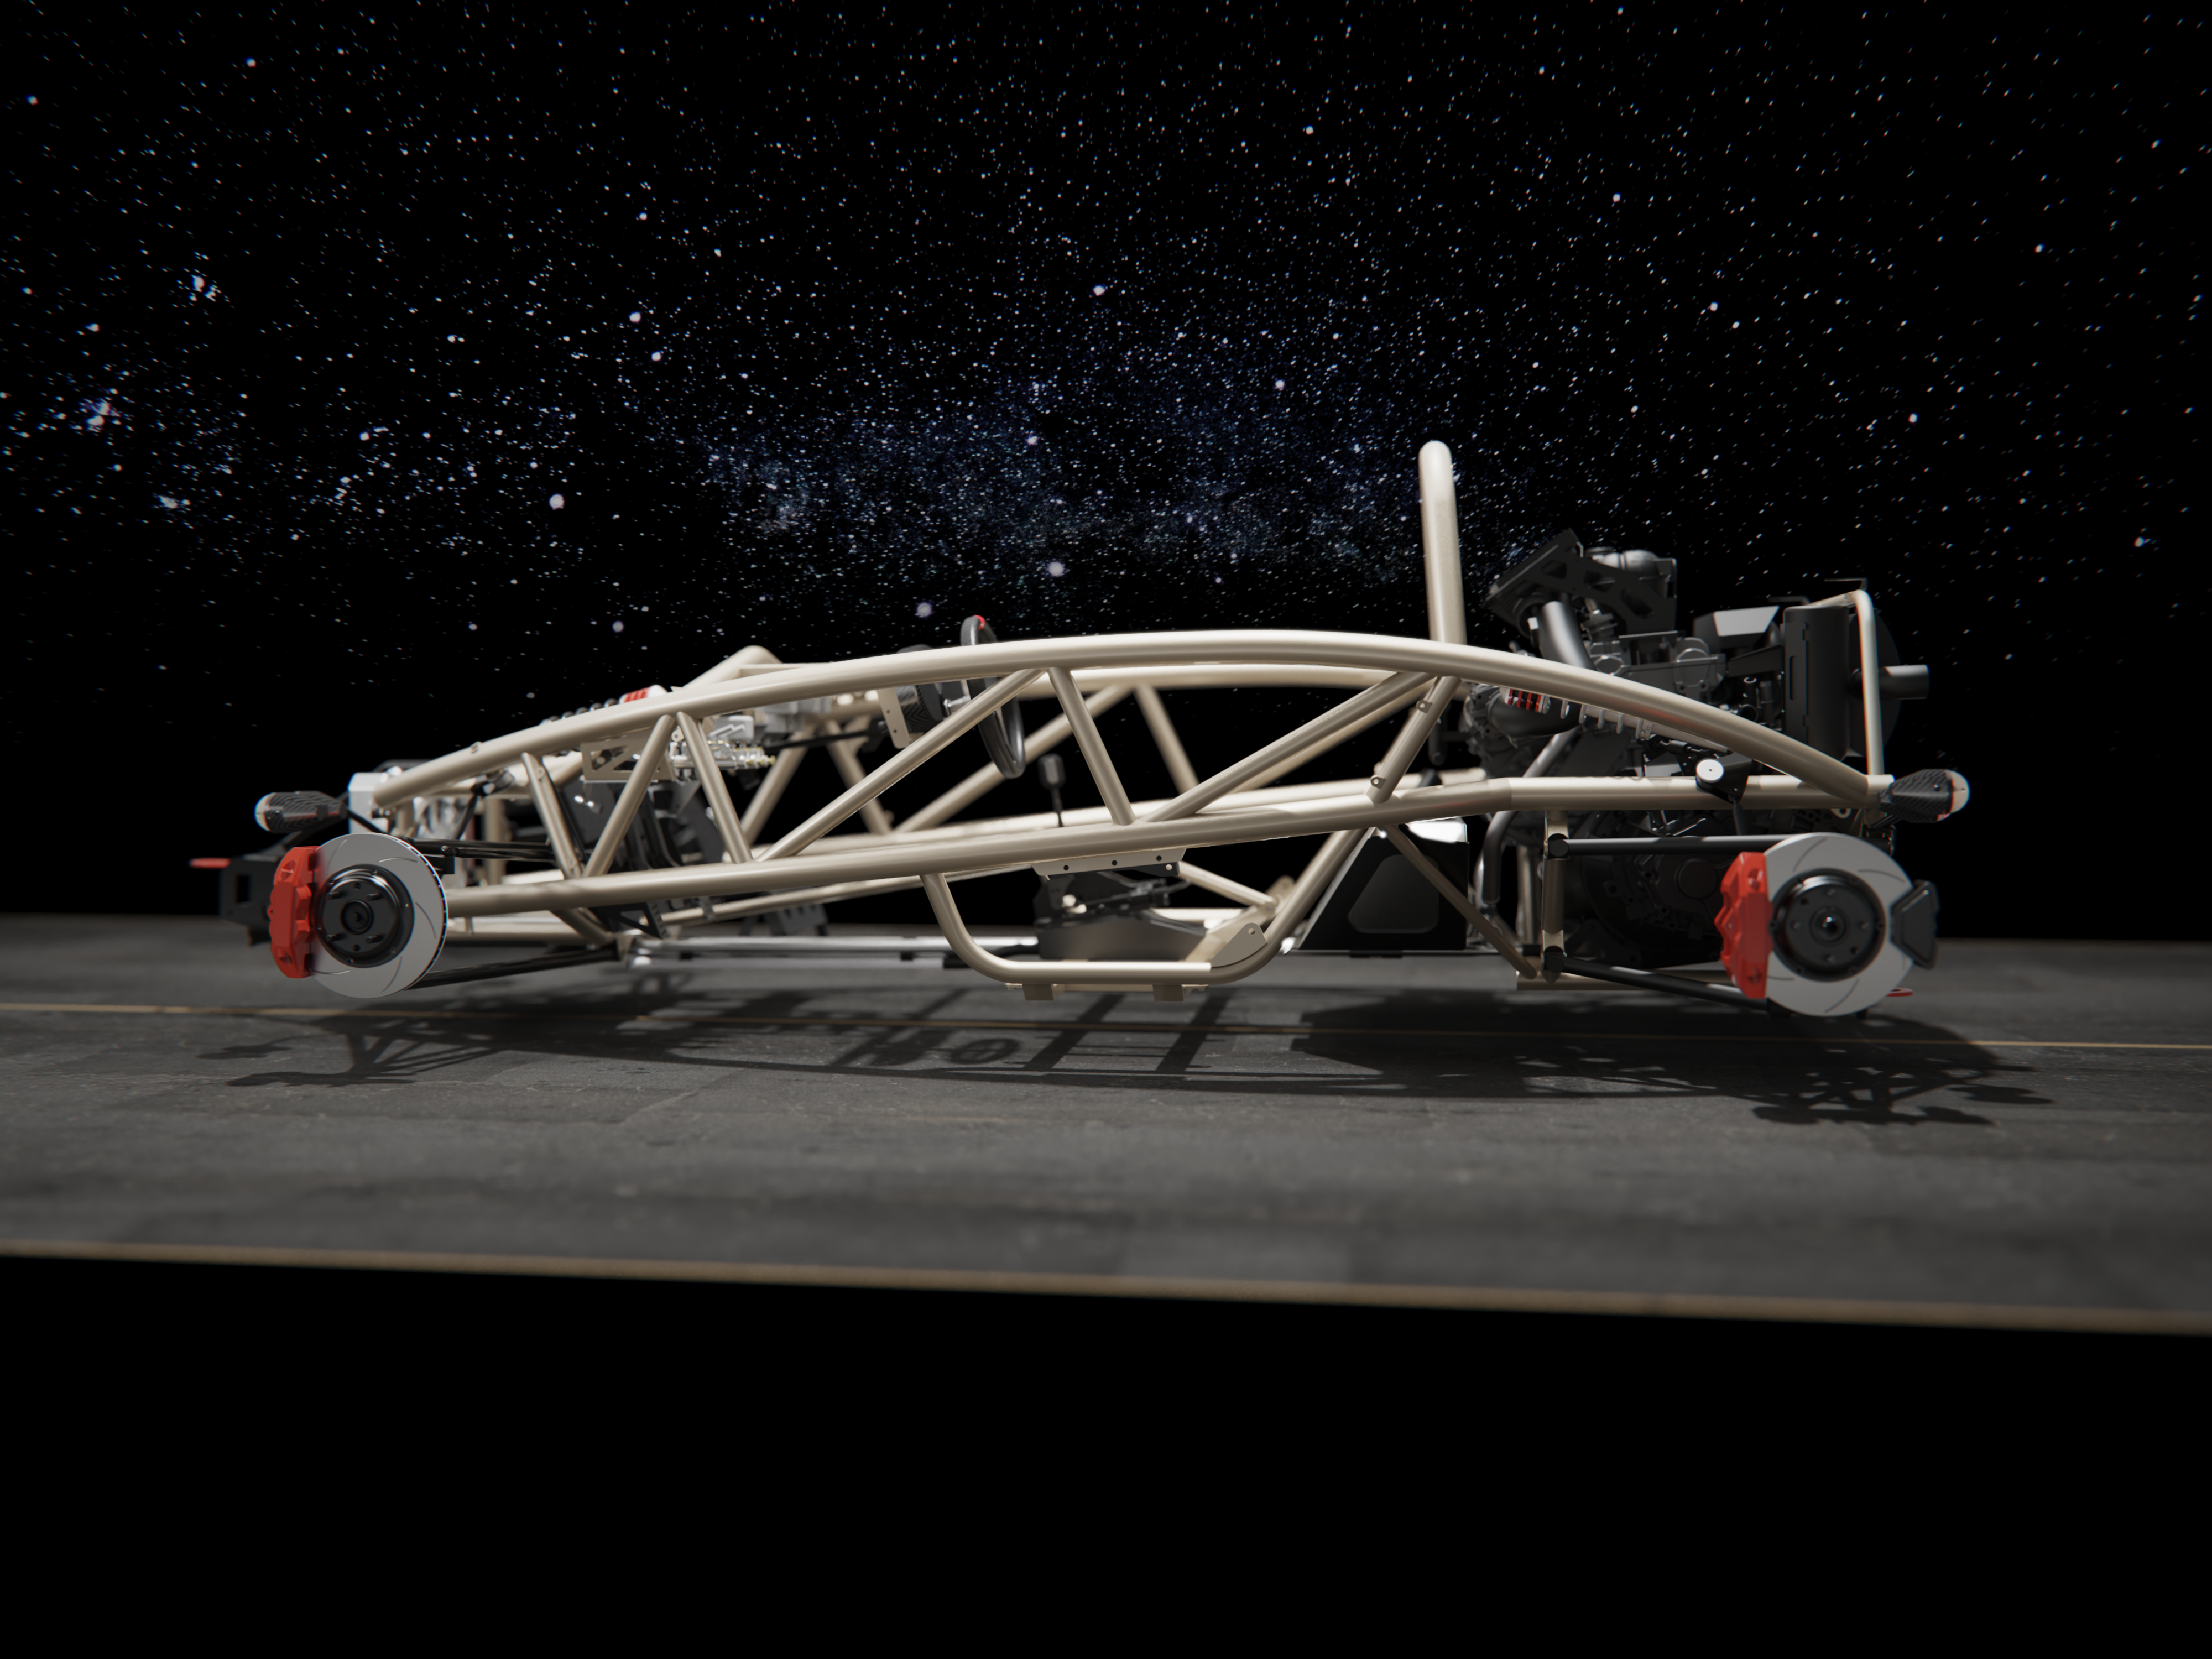
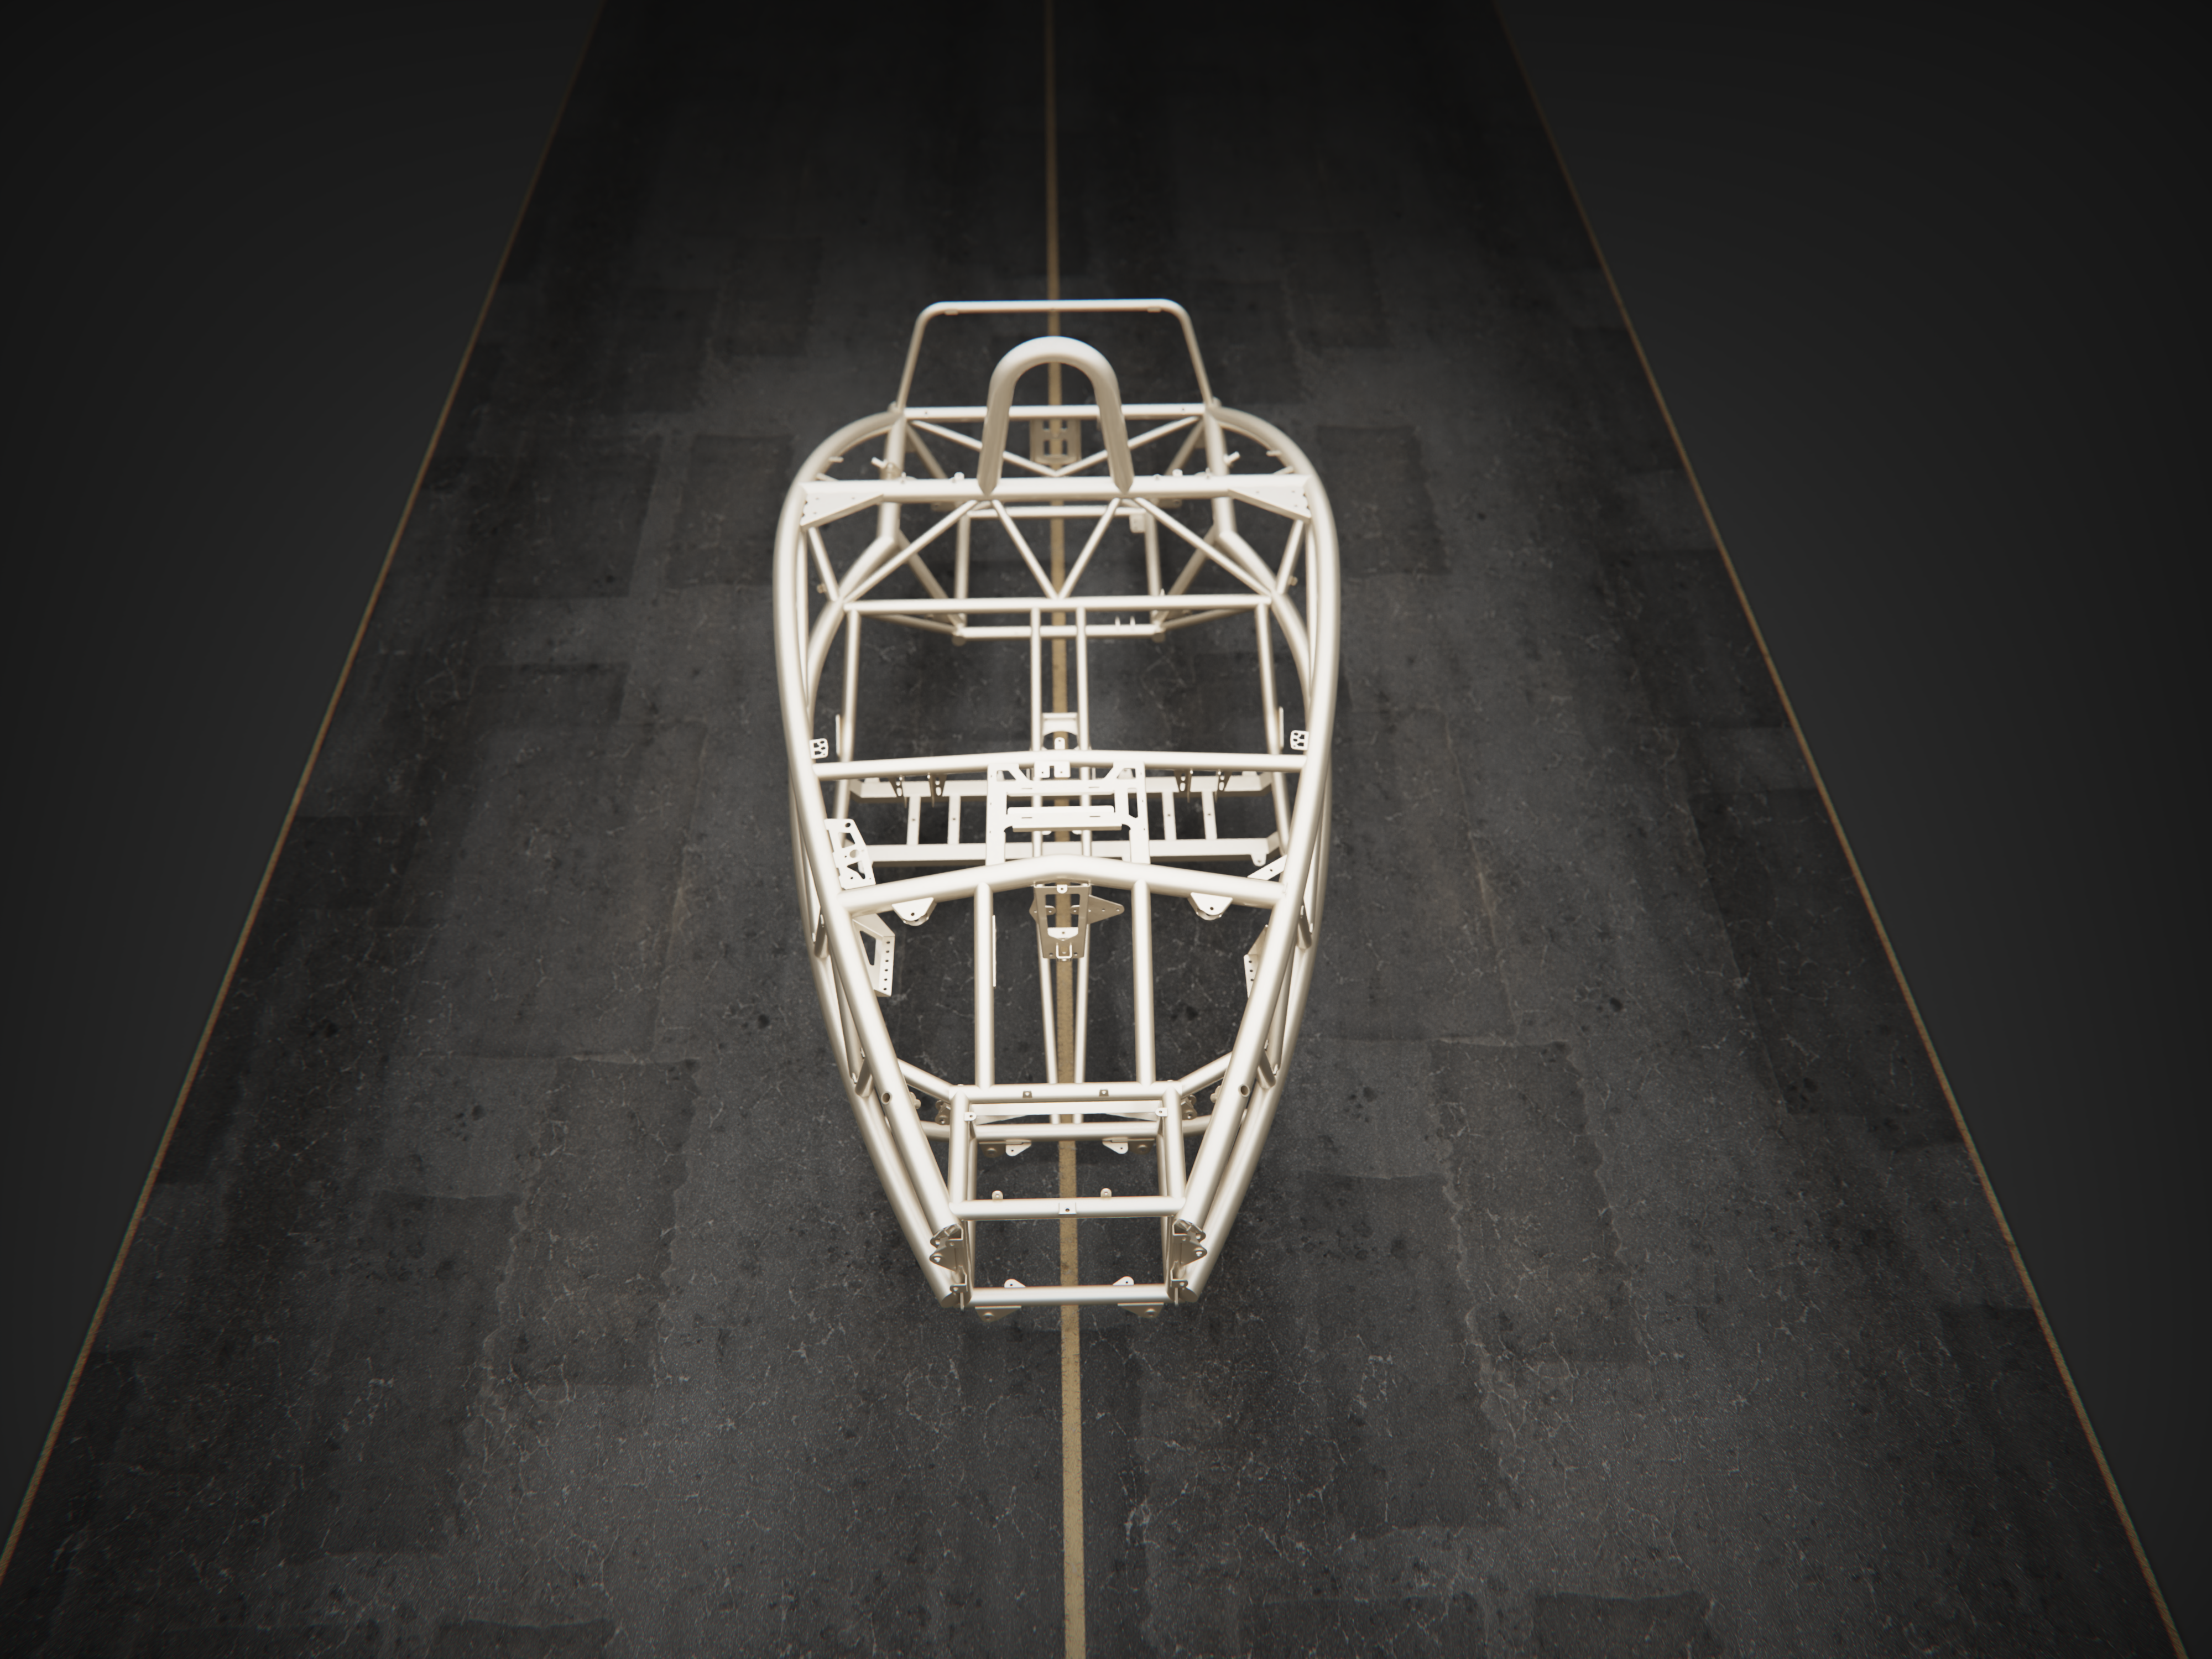
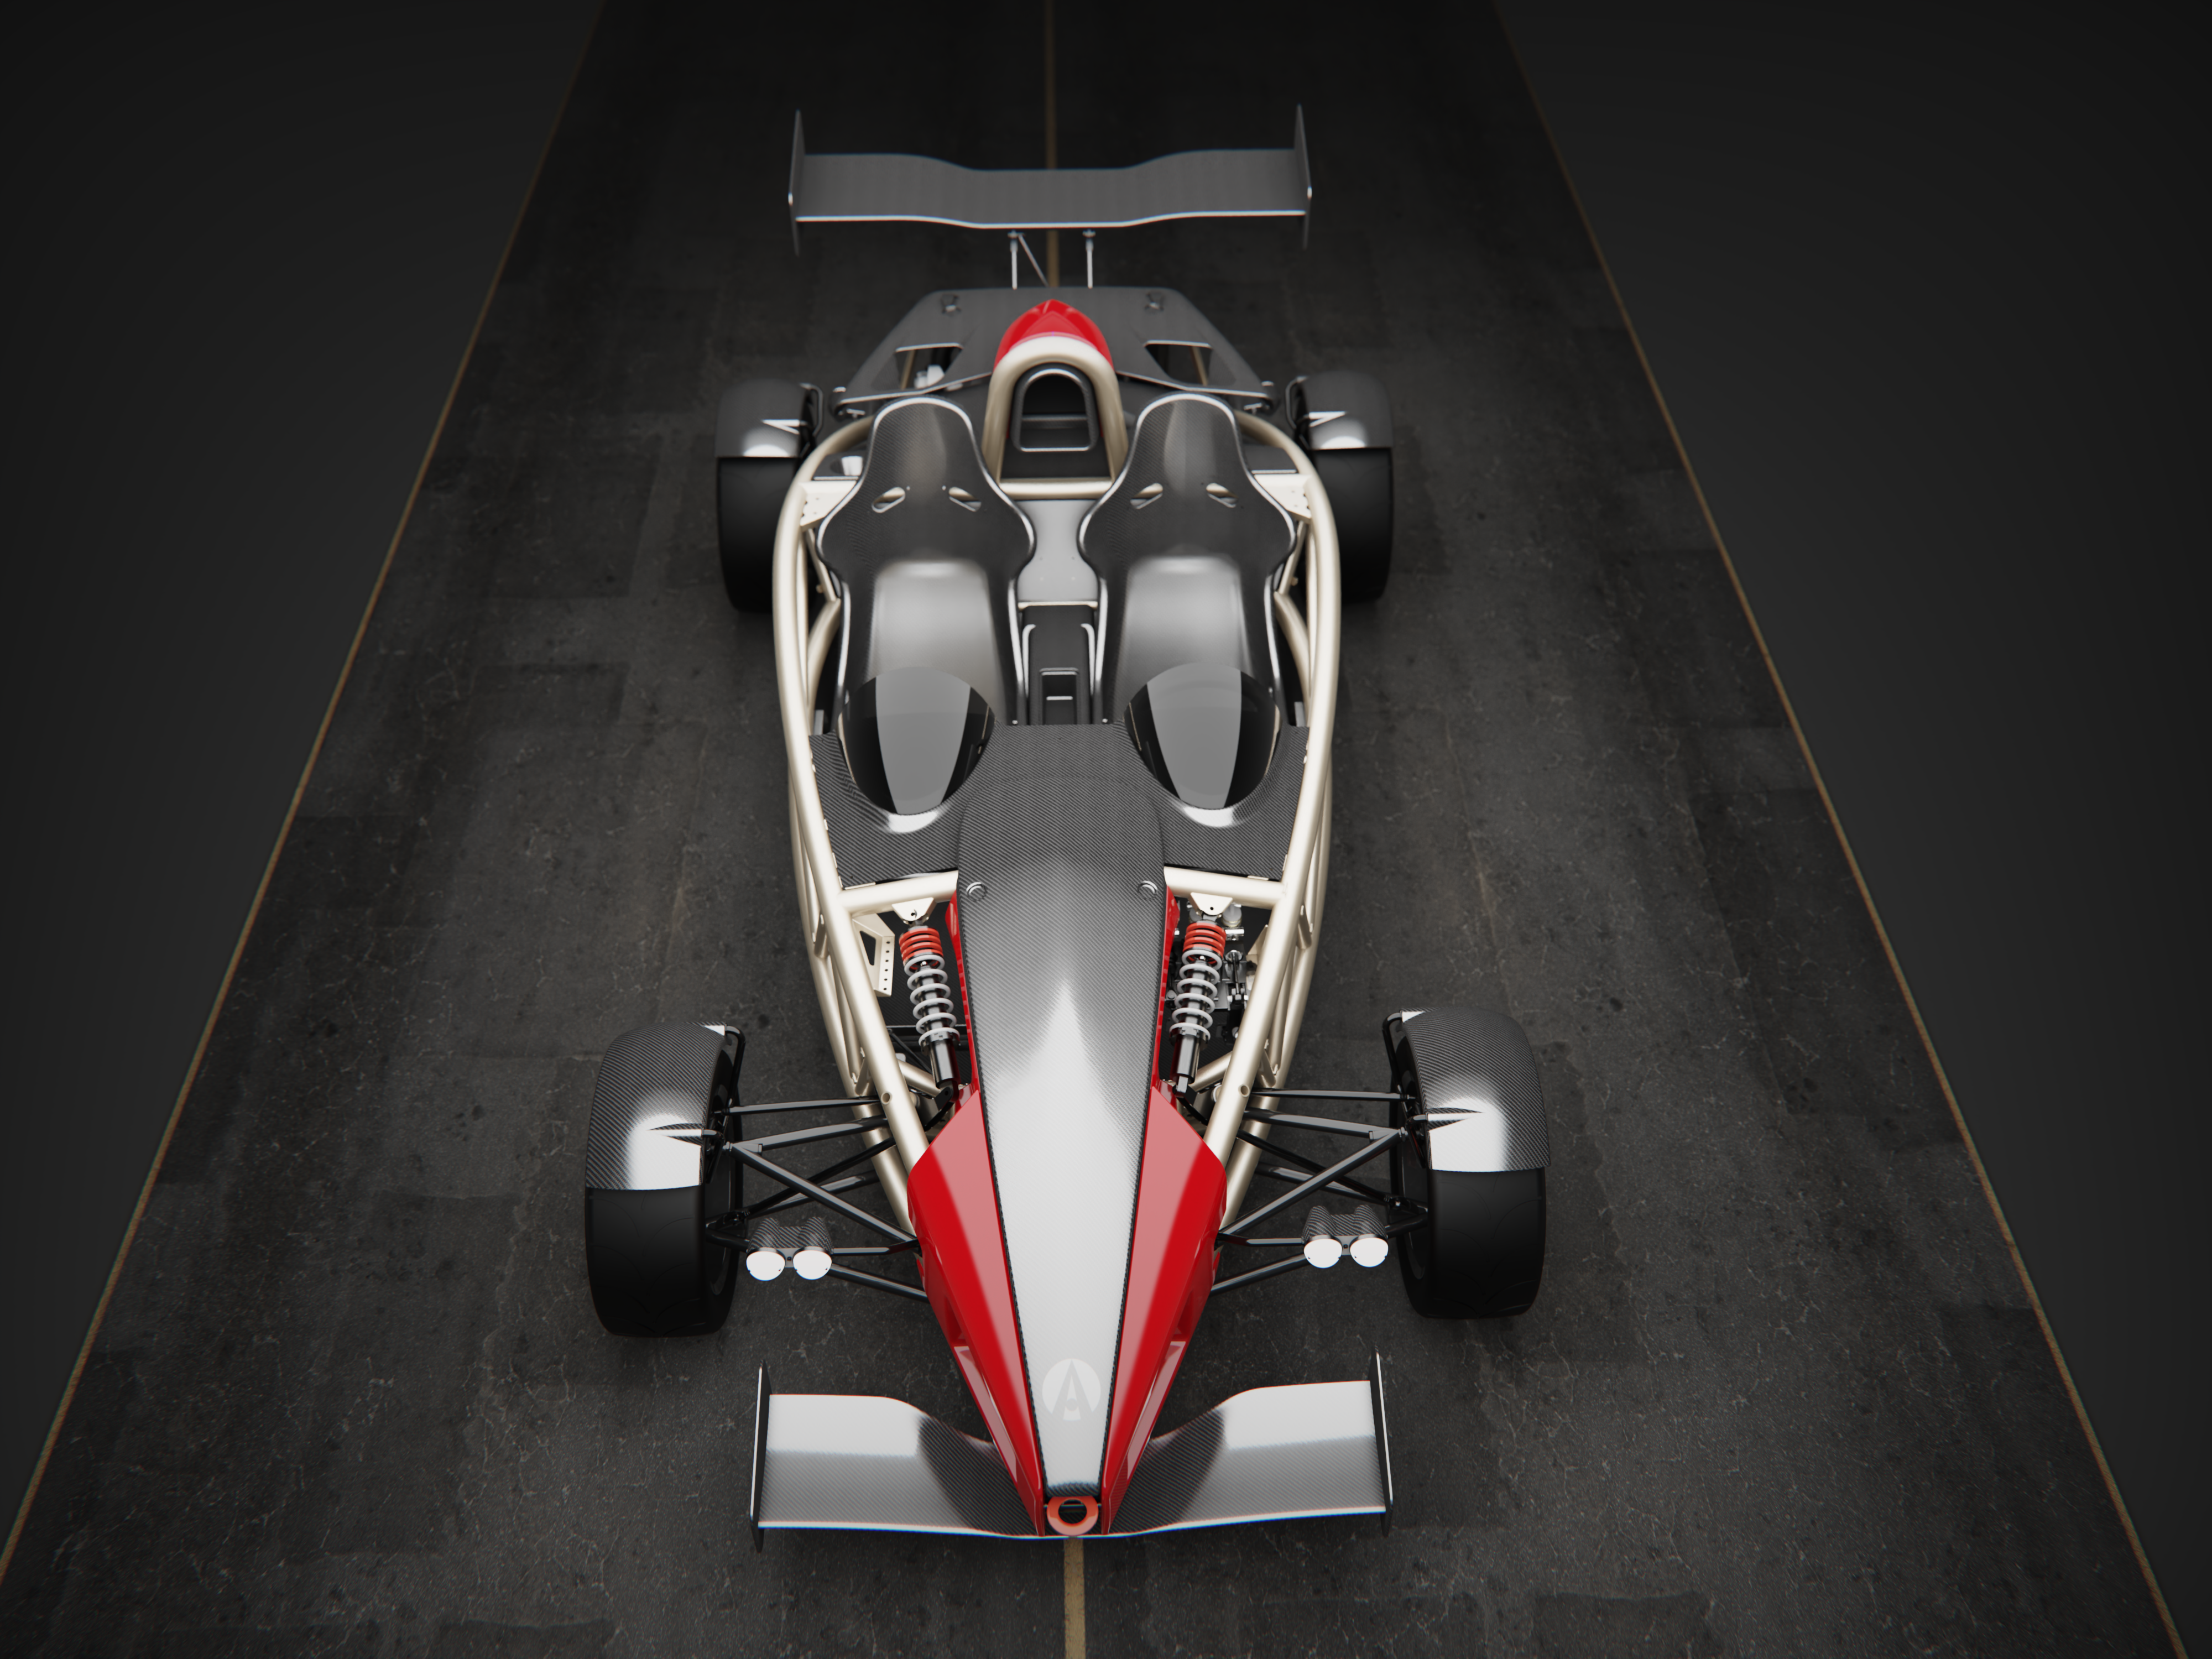
The renders bellow using the Ariel Atom 3D model from my time working on this car.

Since I worked on this project I have the detailed CAD model and can show/hide parts in the assembly for rendering.


Here is a render of a bike frame, the Heckler 9. This render was done to be as photo-real as possible for a web asset. This is a huge advantage since we can have web assets before we receive the physical paint samples.

Here is an example of a suspension link with laser engraving as a concept.
